
Long Exposure Self-Portraits - the Green Session

I love using long exposures for self-portraits, I think because it seems less intimidating or exposed than other more straightforward looking-at-the-camera kind of images. It allows me to hide a bit behind the blur, or express more of my emotions. It feels like a multiple exposure but is done in one longer shutter speed.
The Set-Up:
I shot all of these with my Sony a7iii and Lensbaby Velvet 56 and in many cases also some Omni filters. I set up my camera on a tripod with a remote trigger and use a stool so my position stays fixed. I pre-focus using a mannequin head. I used a Glow collapsible beauty dish with grid as a key light and had a background light for separation. Mostly it was pointing at the background but for the last few I turned it around towards my body as you see in the pullback. I also realized in trying to reproduce this that I had left my ugly overhead lights on which accounts for the yellow cast of my SOOC images. You’ll need enough ambient from a constant light to pick up the motion and you can use any constant light source if you only have one flash. My settings were ISO 100, usually about f/4 (Lensbaby doesn’t record this data but typically that’s about my aperture), and I varied between .5 to 1 second exposure to capture movement.

Rear Curtain Sync and Timing
It’s important to set your flash to rear curtain sync so that the flash fires at the end of the exposure. On my Sony camera I do this in the flash settings on the camera. I know Canon users don’t have this option so many triggers also have a way to set rear curtain sync. Rear curtain means that the long exposure starts as you start moving and then the flash fires right at the end, which helps to freeze your face on top of the blur. When the flash fires first on a long exposure there’s more chance the blur will build up over your crisp image.
The challenge with using rear curtain is definitely timing. I use my remote to trigger the exposure, immediately start my movement and try to time it so the flash fires around the right position. Generally I move in the direct of the flash, so one big arc, ending at the flash side, for example. If you’re shooting someone else you’ll need to verbally cue them since they won’t have the flash firing in the beginning as a clue to start moving. I usually say ready, set, go and start the exposure so they start moving and then of course they know once the flash pops it’s over.

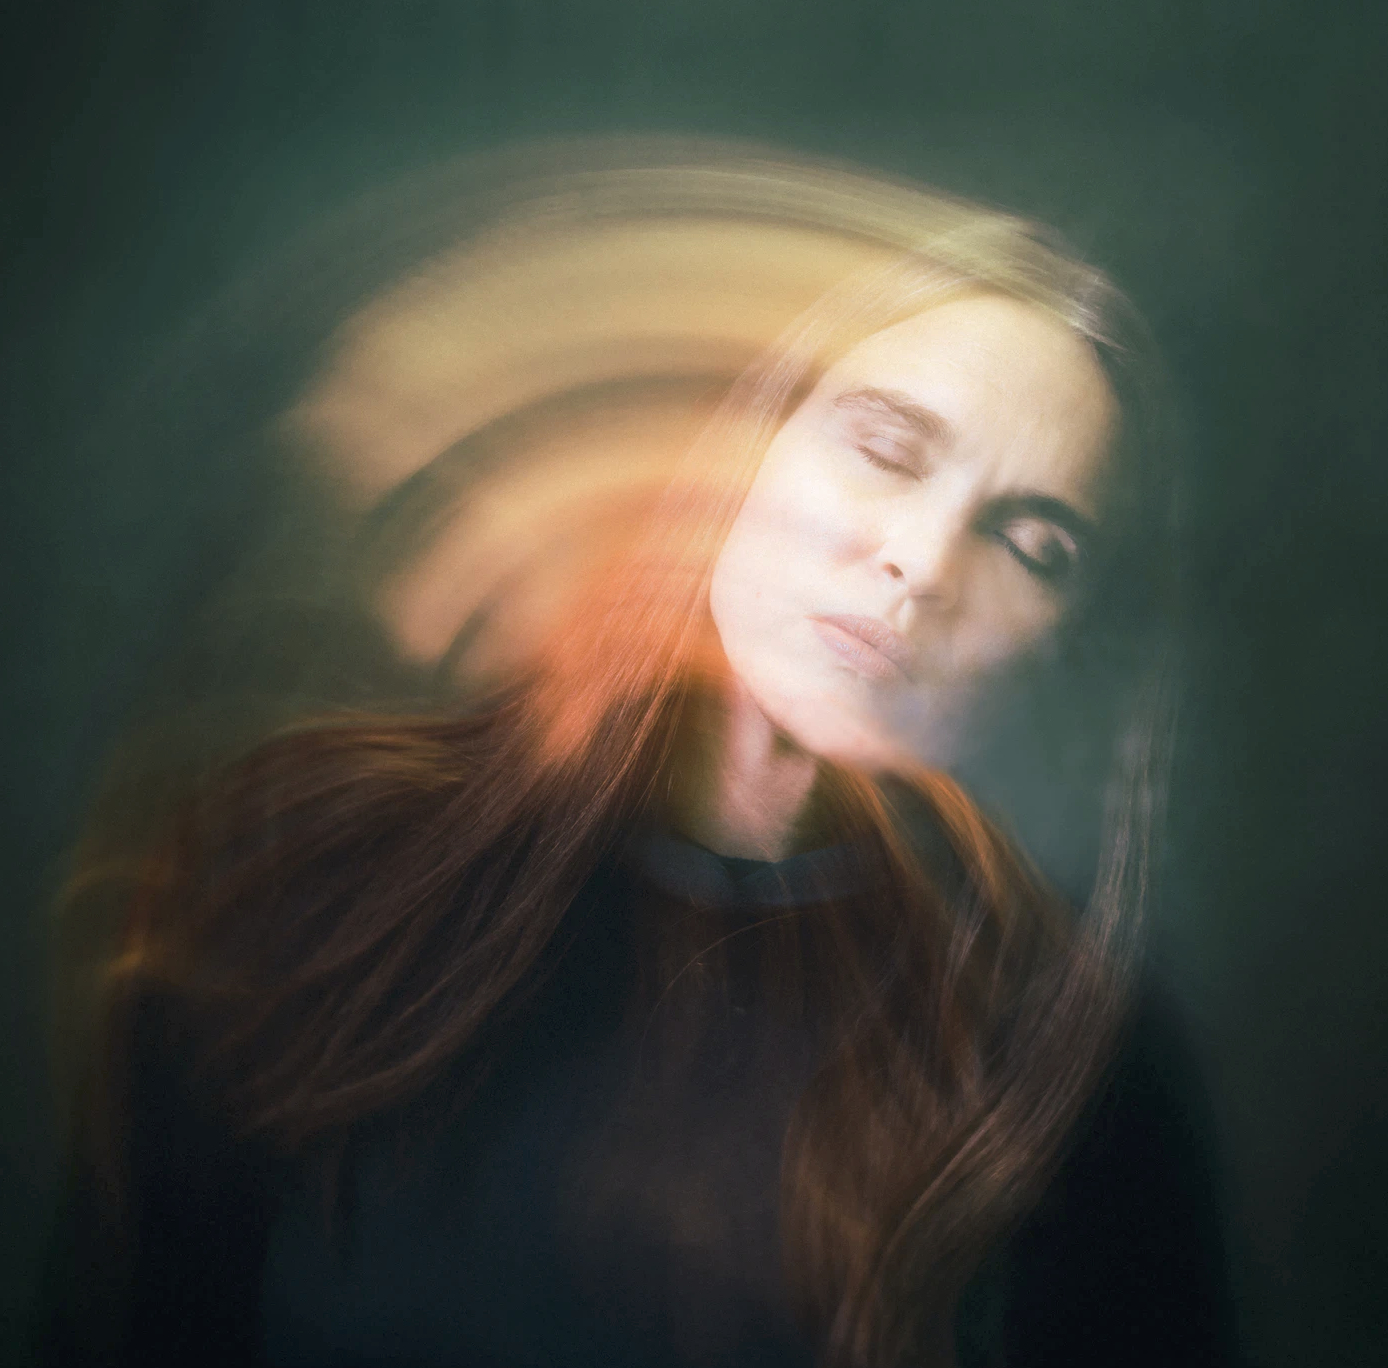
For this first image my settings were ISO 100, probably F4 on my Lensbaby Velvet 56. First one is 1 second exposure while shaking my head 'no' in the first one.
SOOC

I made a number of mistakes in this session so I’ll outline them here as learnings. I had been shooting some of these with the overhead lights off but when I stopped to change settings I forgot the overhead lights, which is why the colors are so wonky. You can see from my earlier pullback that my green background is actually much richer and closer to the final edit than shown here due to the color temperature mismatch of the overhead lights which added a very orange tint. But I actually ended up working with the strange colors to produce my final image. My background light was too close to the background which caused an unpleasant circle of light as you can see. That was a pain as I had to clone it out in Photoshop. If I had more space I could have pulled it out further but my studio is tiny.
My Edit
For the edit I deepened all the colors, cloned out the background light which I found distracting, and used a LR profile Artistic 06. Lots of clarity added and then an overlay of a wood block that I have in my own personal textures library. I liked the echo of circles that fit with the movement. Here is my texture if you want to download it. It was also shot with the Velvet 56 with a bit of glow.

Second image is still ISO 100 and probably f/4. Shutter speed was .5 seconds while moving my head in an arc.
For the last two here they actually were not long exposures but they have that same look. The blur on these is strictly from the Lensbaby Omni stretch glass being placed right in the middle or halfway across the lens. 1/200, probably f4, ISO 160


Here are a few more from the same session.


There’s tons of trial and error with this technique but it can be super fun.
Let me know if you have any questions and if you try it please tag me on social or Mighty so I can see your amazing work!